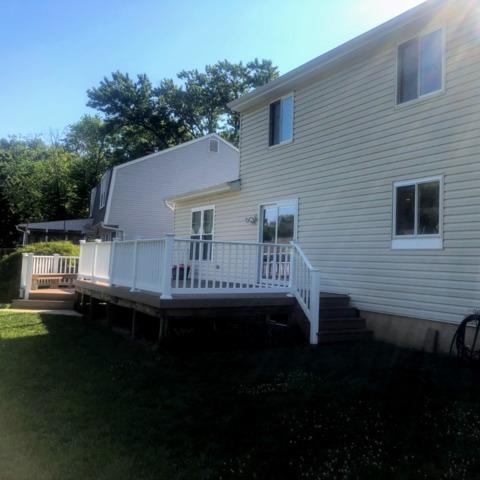
The Original Deck
The footers needed to be reinforced before the screen room could be built.

Inspecting the Footers
Upon inspection, we noticed that the footers need cement to be poured around the existing footers to ensure adequate support for the new addition.
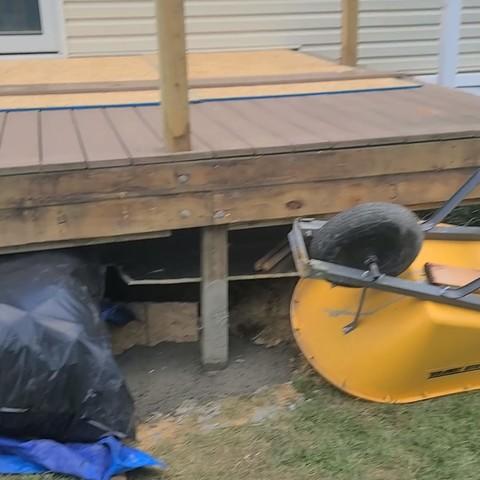
Reinforcing the Underpinning of the Deck
Once the cement was poured and the framing commenced the project began to come along.
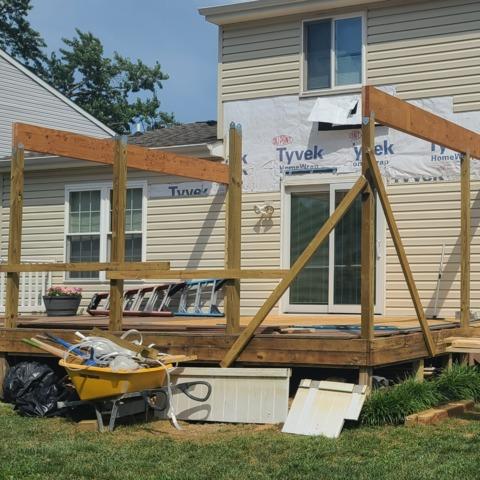
Framing the Screen Room's Sides
The side posts and beams were emplaced and attached with brackets for the cross beam to be installed to support the peak of the roof.

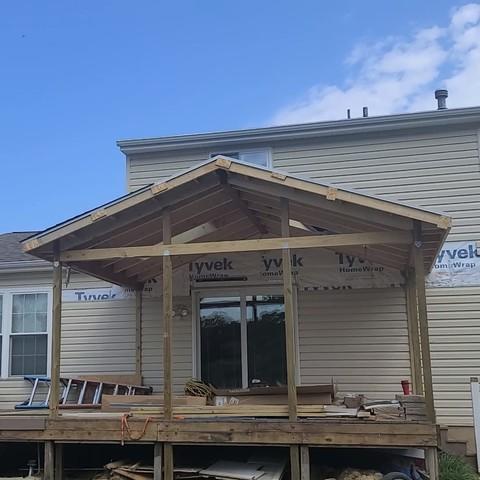
Framing the Screen Room's Cap
Once the cap has been attached and supported, the roof can now be assembled.
Attaching the Roof
The roof has been attached and shingling has begun.

Shingling the Roof
The roof has now been sealed and shingled. The roof features two windows to allow optimal natural lighting.

Interior Roof Paneling
The interior paneling has been assembled and the window frames are ready for the fixtures to be added.

Exterior Trim has been completed
The wooden posts are encapsulated with high grade aluminum for superior protection from the elements.

Doors and Screens Have Been Installed
The project has begun to come together and is nearly completed

The Project Is Completed
The screen room addition has been completed and the deck has been trimmed in white along the bottom to give it a cleaner look that matches the screen room addition.